

Subaru CV axle angle after lift kit: Complete Guide
A Subaru CV axle angle after lift kit installation can determine whether the finished build feels composed for thousands of miles or begins showing driveline trouble soon after the first trail run. A lift adds useful clearance, but it also changes the relationship between the transaxle, differential, wheel hubs, CV joints, boots, and suspension travel. Understanding that relationship before choosing parts is the best way to protect reliability.
Shop Crawford Performance overland and off-road parts for your Subaru build.
In brief: Lifting a Subaru usually makes its CV axles operate at a steeper resting angle because the body and driveline move upward relative to the wheel hubs. The change can increase joint articulation, boot movement, and stress at full droop. The right solution depends on the exact model, year, lift design, suspension condition, tire setup, and intended use. Inspect before installation, verify the entire range of motion afterward, and address clicking, vibration, binding, or boot damage promptly.
How does a lift change Subaru CV axle geometry?
A CV axle transfers power while allowing the wheel to steer and the suspension to move. Its inner and outer joints articulate continuously as the vehicle accelerates, turns, compresses over bumps, and extends into dips. At stock ride height, Subaru engineers position those components to work together through the intended suspension range.
A suspension lift changes that baseline. Depending on the kit design, the chassis and driveline move farther from the hubs while the wheels remain on the ground. The axle therefore slopes more at normal ride height. As the wheel drops away from the body, the joint may articulate farther still. That does not mean every lifted Subaru will damage an axle. It does mean the builder must verify that the joints, boots, and nearby components remain comfortable throughout their actual range of movement.
Resting angle versus maximum operating angle
The resting angle is what you see with the vehicle parked on level ground under its normal weight. It is useful for comparing the before-and-after geometry, but it is only one part of the picture. A vehicle can look reasonable at rest and still place a joint near its limit at full droop, full steering lock, or a combination of the two. Conversely, a visually noticeable resting angle is not proof of a problem if the system moves smoothly and the parts remain within their intended operating range.
There is no responsible universal angle or lift-height threshold for every Subaru. Chassis generation, trim, existing spring height, axle design, component wear, added vehicle weight, and kit architecture all influence the result. Use specifications and fitment notes supplied for the exact vehicle, then verify the installation physically rather than relying on a generic number from another build. For authoritative model-specific procedures and specifications, consult Subaru's Technical Information System or the correct factory service information for your vehicle.
Why boots deserve as much attention as joints
The rubber boot retains grease and excludes water, grit, and debris. A changed axle angle can make adjacent boot ribs run closer together or stretch one side of the boot more than before. If ribs rub repeatedly, a small abrasion can become a leak. Once grease escapes or contamination enters, joint wear accelerates. A sound joint with a compromised boot can become an expensive failure, so boot clearance and condition are central to post-lift inspection.
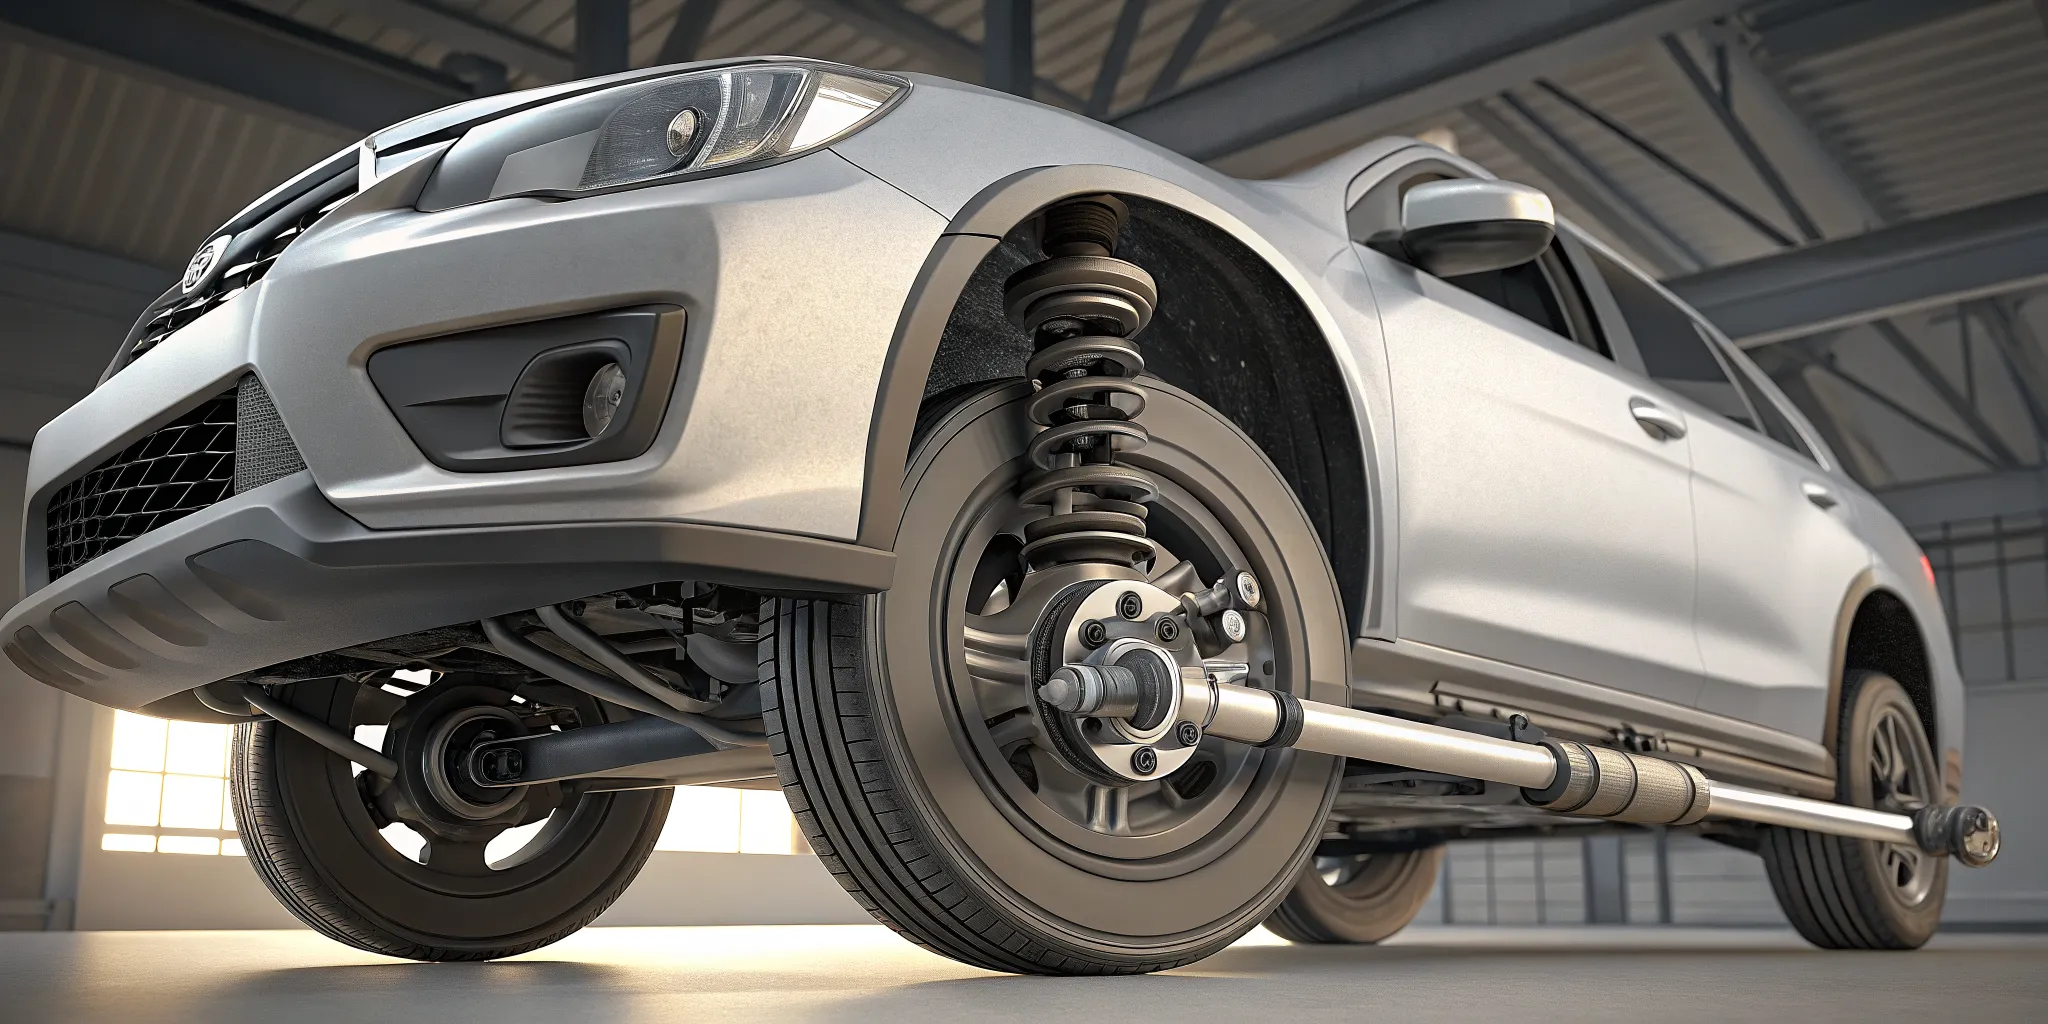
How geometry affects a lifted Subaru in real use
In brief: Altered axle geometry matters most when torque, steering angle, and suspension travel overlap. Inspect the setup dynamically, not only while it is parked.
CV joints are designed to articulate, and normal joint movement is not a defect. Trouble begins when altered geometry combines with worn components, unsuitable parts, aggressive impacts, or insufficient clearance. The symptoms can appear during a tight parking-lot turn, highway acceleration, or off-road suspension extension. Where and when a symptom occurs provides useful diagnostic evidence.
Acceleration, steering, and suspension travel
Torque loads the axle during acceleration. Steering changes the outer joint angle. Suspension compression and extension change both joints' positions relative to the driveline. On a lifted vehicle, these demands can overlap. For example, climbing an uneven turn may combine substantial torque, steering lock, and suspension articulation. That is why a static visual check cannot replace a careful range-of-motion inspection and controlled road test.
Tire and wheel choices also matter. A heavier tire-and-wheel assembly can add rotating mass and increase the load the driveline must manage. Tire clearance problems may encourage owners to make additional suspension changes that alter geometry again. Plan the lift, tires, alignment, payload, and expected terrain as one system rather than treating the lift kit as an isolated modification.
What a subframe drop changes
A compatible subframe drop repositions selected driveline and suspension mounting points to help manage geometry after a lift. It may bring axle orientation closer to its prior relationship, but it is not a universal add-on and should not be assumed to correct every issue. The correct parts and installation details vary by chassis and kit. Crawford's guide to the benefits of a subframe drop lift kit explains how this approach fits into a complete build.
Before ordering, confirm the product listing names your exact year, model, and applicable configuration. For example, a model-specific item such as the 2019-2024 Subaru Forester subframe drop kit should only be considered for the fitment stated on its product page. Do not infer compatibility with another generation or Subaru model because the parts look similar.
What warning signs require inspection?
In brief: New clicking, load-sensitive vibration, grease around a boot, or binding after a lift calls for prompt inspection. Stop demanding use until severe symptoms are diagnosed.
A changed CV axle angle does not diagnose a failed axle by itself. Listen, feel, and look for changes that began after the lift or became more noticeable after off-road use. Some symptoms can also come from wheel balance, wheel bearings, brakes, engine mounts, alignment, or other suspension and driveline parts, so confirm the source before replacing components.
| Observation | When it may appear | What to inspect | Recommended response |
|---|---|---|---|
| Rhythmic clicking or popping | Often during slow, tight turns | Outer CV joints, boots, grease loss, and clearance | Stop aggressive use and diagnose promptly |
| Shudder or vibration under load | During acceleration or at a repeatable speed | Inner joints, axle condition, wheel balance, mounts, and alignment | Compare conditions and have the source confirmed |
| Grease around a boot or nearby surface | After driving or suspension articulation | Boot tears, loose clamps, rib contact, and punctures | Repair before contamination damages the joint |
| Resistance, clunking, or binding | At droop, steering lock, or uneven terrain | Axle travel, joint articulation, hoses, sway bar, and surrounding clearance | Do not continue driving until corrected |
| New pull or uneven tire wear | After installation and regular driving | Alignment, ride height, bushings, and installation torque | Inspect and align to appropriate specifications |
Clicking, popping, and clunking
A repeating click during a tight turn commonly points toward an outer CV joint, while a clunk can have several possible sources. Record whether the sound changes with steering direction, throttle, speed, or suspension position. Those details help distinguish a joint problem from loose hardware or another component. A new sound after installation should never be dismissed as a normal consequence of lifting the vehicle.
Vibration and shudder
A shudder that appears under acceleration can suggest an inner joint or driveline issue, but it can also mimic an unbalanced wheel or worn mount. Note the speed range, throttle position, road surface, and whether the vibration is felt through the steering wheel, seat, or floor. A qualified technician can use that pattern along with a physical inspection to identify the cause.
Boot contact, grease leaks, and heat damage
Look for fresh grease on the axle shaft, control arm, wheel well, or underbody. Inspect the full circumference of each boot with adequate lighting. Polished areas, shallow cuts, or scuffed ribs may show that the boot is contacting itself or another part. Catching a boot problem before the joint becomes noisy can preserve the axle and reduce repair cost.
How should you inspect CV axles before and after a lift?
Inspection should begin before installation. That baseline helps separate a pre-existing worn axle or torn boot from a change caused by the new setup. If you are not equipped to support the vehicle safely or evaluate suspension travel, have the work performed by a qualified technician. Never work under a vehicle supported only by a jack.
Before installing the lift
- Confirm fitment. Match the lift components to the exact model year, trim, suspension configuration, and any relevant product notes. Review all instructions before disassembly.
- Document ride height and axle position. Park on a level surface, use consistent measurement points, and photograph both front axles from comparable angles.
- Inspect all CV boots. Check for cracks, hardened rubber, loose clamps, grease residue, punctures, and evidence of rib-to-rib contact.
- Check for existing symptoms. During a controlled drive, listen for clicking on turns and note any vibration under acceleration or deceleration.
- Inspect related components. Worn wheel bearings, ball joints, bushings, mounts, and tie-rod ends can complicate diagnosis and should be addressed before adding new loads.
- Plan the complete system. Account for tires, wheels, payload, alignment needs, and any compatible geometry-correction components recommended for the selected kit.
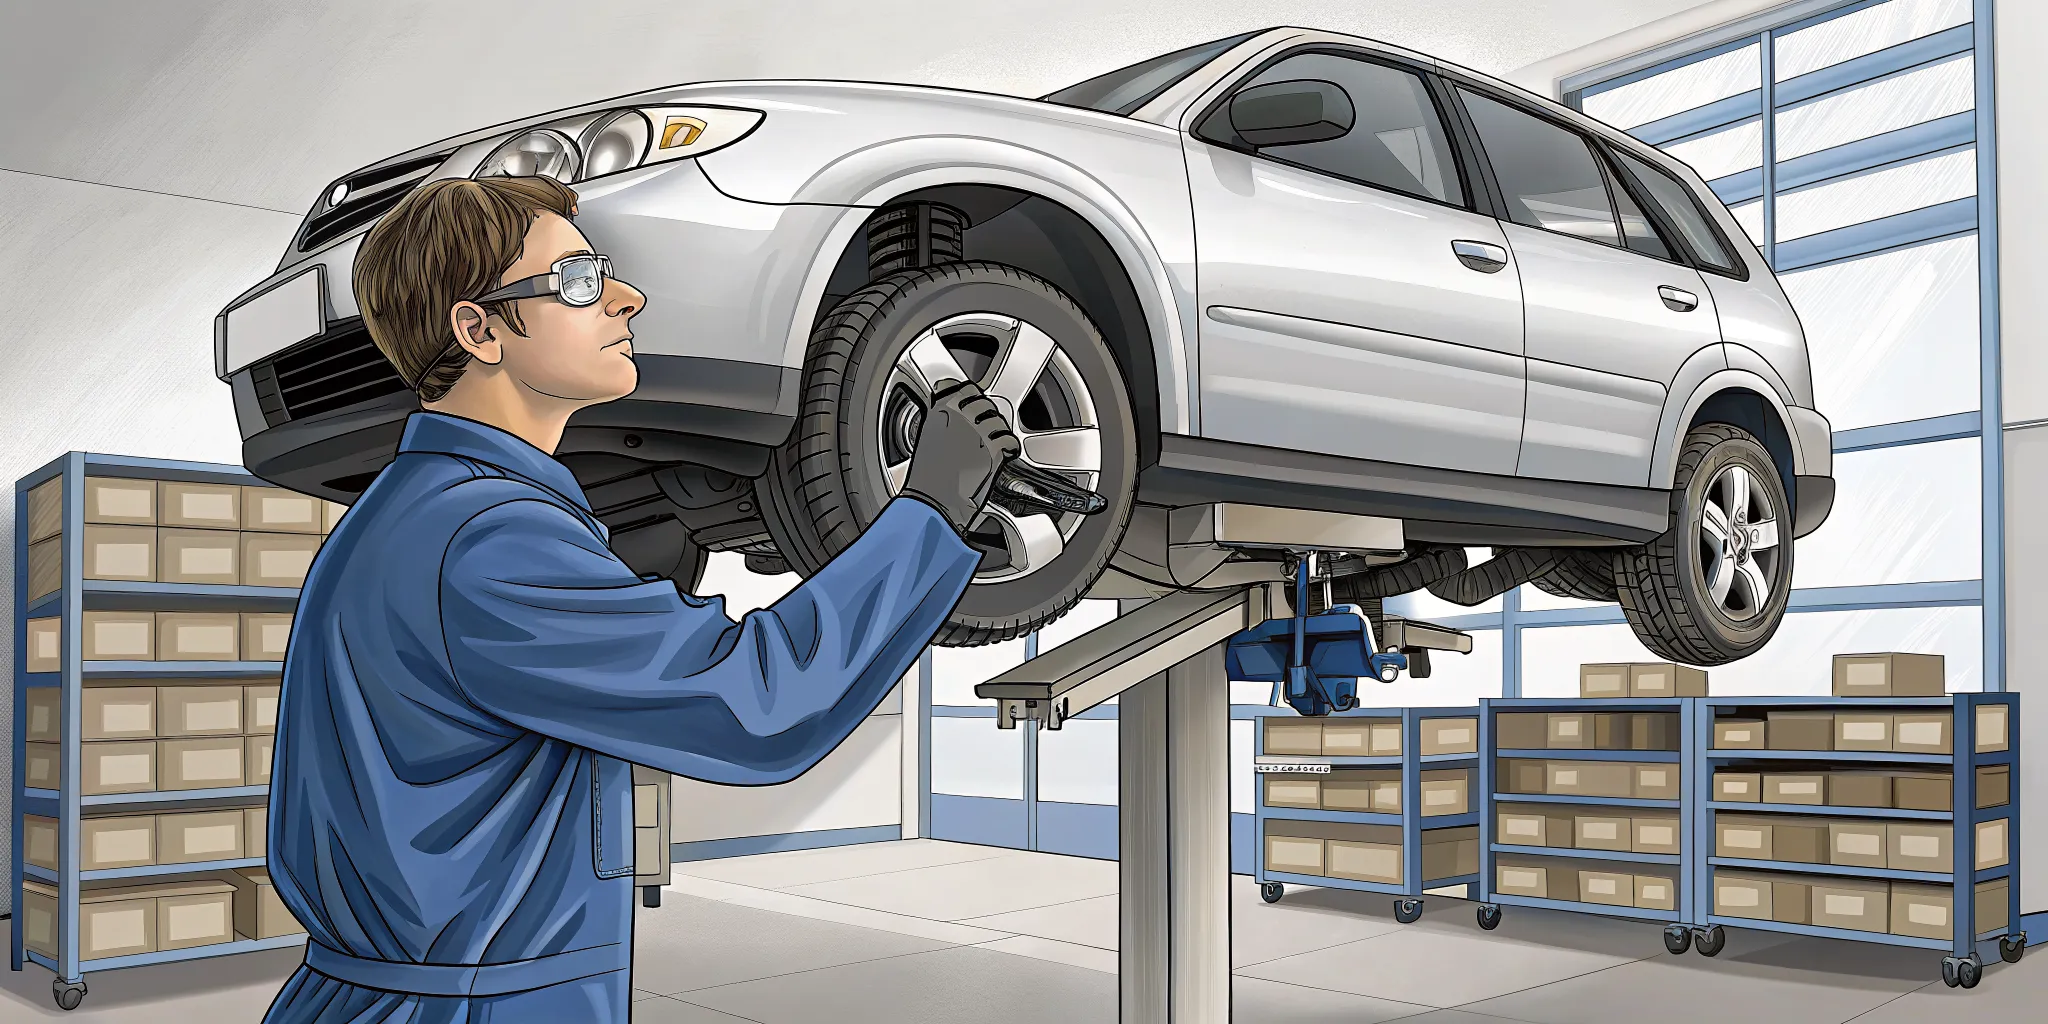
After installation, before the first road test
- Verify the installation. Confirm every component is oriented correctly and all hardware is tightened according to the applicable instructions.
- Inspect at normal ride height. With the vehicle settled under its normal weight, compare axle position and boot shape with the baseline photos.
- Check steering movement. Observe both sides while steering slowly from lock to lock. Look for stretched boots, contact, pinched lines, and interference.
- Evaluate suspension travel safely. A qualified installer should inspect compression and droop while watching for binding, excessive tension, or contact. The joint should move smoothly throughout the usable range.
- Spin and listen. Where safe and appropriate, rotate the wheel and feel for roughness or resistance. Investigate any repeatable click, catch, or hard spot.
- Complete alignment and calibration work. Follow the kit and vehicle requirements before normal driving. Do not use a road test to compensate for obviously incorrect alignment or loose hardware.
During and after the road test
Begin with a low-speed drive in a controlled area. Test gentle acceleration, deceleration, and turns in both directions before adding speed or uneven terrain. Stop immediately if you hear persistent clicking, feel binding, or notice a severe vibration. After the drive, recheck for grease, contact marks, shifted components, or loose hardware. Follow the lift manufacturer's specified post-installation inspection and retorque schedule rather than assuming one interval applies to every kit.
What model and fitment details matter?
Subaru models may share design themes, but they do not share universal lift-kit or subframe-drop fitment. Even within one model name, a new generation, trim package, or suspension revision can change mounting points and required hardware. Choose parts by the application stated by the manufacturer, not by appearance or by another owner's success with a different vehicle.
Crosstrek owners can review Crawford's Subaru Crosstrek lift kit installation guide for a model-focused view of the process. Forester, Outback, and Impreza owners should use resources and products written for their exact applications. If a listing does not clearly support the vehicle, confirm fitment before purchasing or installing it.
How vehicle use changes the plan
A commuter that occasionally reaches a campsite sees different loads than a vehicle regularly driven through deep ruts or uneven climbs. Frequent articulation, additional cargo, abrupt throttle on loose surfaces, and larger tires can all influence driveline stress. Be honest about how the vehicle will be used, then select a lift and supporting components that prioritize that use instead of choosing height alone.
Payload can also change ride height and suspension position. Inspect the vehicle in the configuration it commonly carries, while staying within its rated limits. If a rooftop setup, recovery equipment, or cargo materially changes the vehicle's stance, include that condition in the post-installation review.
How can you protect CV axles after the build?
Reliable lifted Subarus are maintained as systems. A quick visual check after demanding trail use can reveal a boot cut, lost clamp, or contact mark before it becomes a joint failure. Clean mud carefully so it does not hide damage, and avoid spraying contaminants into compromised boots. If grease is present, identify its source rather than simply wiping it away.
Use a repeatable inspection routine
- Inspect all CV boots and clamps after rough use and during routine service.
- Look for new grease, scuffing, cracks, or boot ribs touching differently than before.
- Listen for noises during low-speed turns and note vibration under acceleration.
- Check alignment and tire wear when the vehicle's handling changes.
- Investigate impacts and underbody contact before returning to demanding terrain.
- Keep records and photos so gradual changes are easier to recognize.
Drive for the terrain and the parts
A lift can improve clearance, but it does not make driveline components immune to shock loads. Use controlled throttle when a wheel is lightly loaded or regaining traction. Approach obstacles at a speed that allows the suspension to work rather than forcing it through its travel. Smooth inputs reduce unnecessary stress and make emerging noises easier to notice.
Frequently asked questions
Does lifting a Subaru always damage the CV axles?
No. A lift changes axle geometry, but that change does not guarantee damage. Reliability depends on the vehicle, lift design, fitment, installation quality, component condition, tire and wheel setup, driving, and maintenance. Verify movement and clearance instead of assuming that every lift produces the same result.
How do I know whether my Subaru CV axle angle is too steep?
There is no universal visual angle that applies to every Subaru. Compare before-and-after geometry, follow the kit's model-specific guidance, and inspect the joints through normal ride height, steering movement, compression, and droop. Binding, boot interference, grease leaks, clicking, or new vibration requires diagnosis.
Will a subframe drop fix every CV axle angle issue?
No. A compatible subframe drop can help manage geometry in an intended application, but it cannot correct worn axles, incorrect installation, incompatible parts, or every possible clearance problem. Confirm exact fitment and inspect the complete suspension and driveline after installation.
What should I check first if a lifted Subaru starts clicking?
Stop demanding driving and inspect the CV boots for tears, grease loss, contact, and loose clamps. Note whether the sound occurs while turning, accelerating, or moving through suspension travel. Because other parts can also click or clunk, have the source confirmed before replacing an axle.
Ready to plan a capable, fitment-focused build? Explore Crawford Performance overland and off-road parts for Subaru vehicles.